
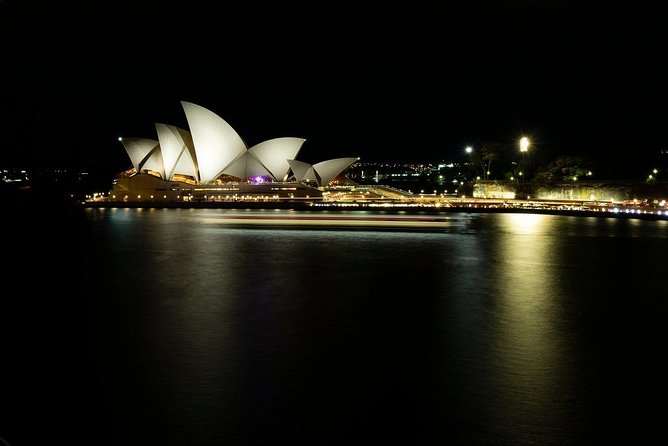
Reviewed · SYDNEY PHOTO SHOOTS
Sydney Photography Course in the Historic Rocks Area
Better photos start with one good lesson. In Sydney’s The Rocks, a small-group class focused on manual mode helps you turn the Bridge and Opera House into repeatable shots, not luck. I especially like the way Alfonso Calero breaks settings into clear steps, and the built-in time to try different ideas on location. The main catch is simple: you need to bring your own camera and have the basics ready before you arrive, or you may spend more time fiddling than shooting.
You’ll work through composition, exposure, and shutter speed with a pro guide, plus practical advice you can use again after the tour. The walks between The Rocks lanes are built for real photo angles, so you can compare results quickly. Included course notes help you keep the settings straight.
You can pick an afternoon or nighttime class, and the group stays capped at 10 for hands-on help. The meeting point is Kendall Lane in The Rocks, and the tour runs about 2.5 hours, so plan your day for a focused block. One more thing, the experience depends on good weather, so check forecasts the day of.
In This Review
- Key highlights worth planning for
- Why The Rocks is a great place to fix your photos
- Meeting Alfonso Calero and getting real camera help fast
- The Rocks walking plan, from landmark views to street-level shots
- What can feel challenging
- Composition and exposure lessons you can use right away
- Daytime vs nighttime class, and when to choose each
- What you should bring, and how to prep your camera
- Price and value for a 2.5-hour manual photography workshop
- Logistics that matter on the ground
- Who this course suits best
- Should you book this Sydney Photography course?
- FAQ
- What is the duration of the Sydney Photography Course in The Rocks?
- Where does the tour start and end?
- How much does the tour cost?
- Do I need to bring a camera?
- What will I learn during the course?
- Is there a small-group limit?
- Can I choose an afternoon or nighttime class?
- What is included in the price?
- Are food and drinks included?
- What is the weather and cancellation approach?
Key highlights worth planning for
- Manual mode coaching: get help with exposure, shutter speed, and camera settings you can control.
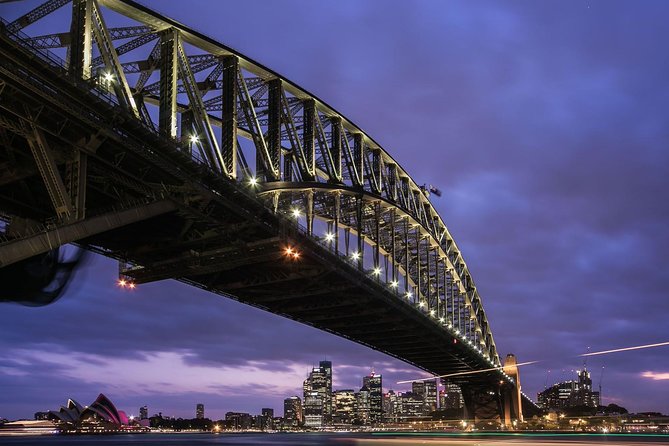
- Photo stops with payoff: vantage points for Sydney Harbour Bridge, Sydney Opera House, and historic sandstone streets.
- Small-group attention: a maximum of 10 people means you are not just watching.
- Afternoon or nighttime options: choose based on whether you want daylight details or low-light effects.
- Bring-your-own-camera workshop: you practice with your own gear, guided in real time.
- Course notes included: you leave with a paper trail of tips to repeat later.
Why The Rocks is a great place to fix your photos
The Rocks is one of those Sydney areas that makes photography easier, because the background gives you structure. You get historic sandstone buildings, tight laneways, and dramatic harbor views all within walking distance. That mix is perfect for learning, because you can test the same skill in different lighting and framing situations without constantly changing locations.
I like that the course is not just about taking a pretty picture. It is about building control. When your guide helps you adjust exposure or shutter speed on the spot, you start to see cause and effect. If you brighten a scene, you learn how highlights behave. If you slow the shutter, you learn how movement changes. That is how you stop relying on auto mode.
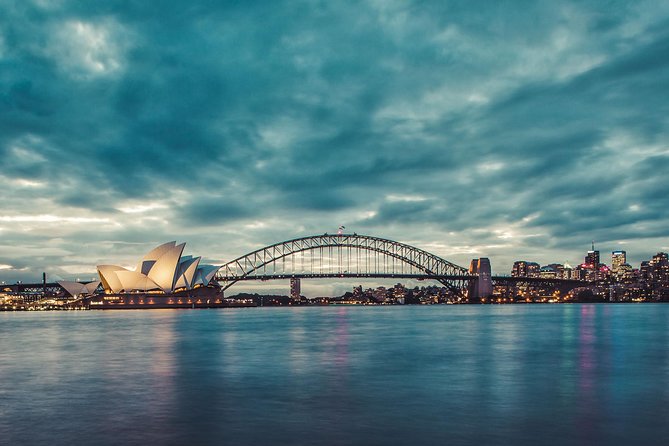
Another practical plus is that the sights people come for are close at hand. You target views connected to Sydney Harbour Bridge and Sydney Opera House, plus the older sandstone streets that give your shots texture. Even if you already know where the landmarks are, the class helps you frame them better, not just point the camera in that general direction.
If you want photos that look intentional, The Rocks gives you plenty of cues for composition. Lines in the streets and building edges help you balance a frame. Different vantage points let you practice wide shots, tighter details, and “bridge or opera in the background” compositions.
Meeting Alfonso Calero and getting real camera help fast
This experience runs with Alfonso Calero Photography. The tone matters here. The course is built for guidance that you can apply immediately, not a lecture you forget by lunchtime.
What you should expect is customized instruction based on your camera and what you want to photograph. The big theme is getting better control using manual mode. That usually means your guide helps you think through the tradeoffs between shutter speed, aperture, and ISO. Even if you do not switch everything to manual at home, you still learn what matters most in real scenes.
You also get focused teaching on the “how to see” side of photography. Composition tips are part of the plan, so you learn to place your subject instead of just zooming in. Exposure guidance helps you avoid the two common problems: skies blowing out and dark buildings turning into muddy shadows. Shutter speed tips help you decide when to freeze action and when to let motion create atmosphere.
One of the strongest takeaways is the amount of experimentation time. The class structure gives you multiple chances to try settings, look at the results, and adjust. That is how you learn quickly, and it is also how you keep the tour fun. You are not just receiving instructions, you are testing ideas.
The approach is small-group too, with a maximum of 10 participants. That matters because you can actually ask questions and get feedback that fits your camera rather than generic advice.
Other shoots with the harbour behind you:
- Sydney: Private Photoshoot outside the Opera House★ 4.6 · 40 reviews
- Private photo tour at Sydney’s most iconic locations★ 4.9 · 12 reviews
- Professional Photoshoot at Opera House★ 3.5 · 10 reviews
The Rocks walking plan, from landmark views to street-level shots
The tour covers The Rocks as Stop 1, starting at Kendall Lane, Kendall Ln, The Rocks NSW 2000. That starting point is helpful because it anchors you in the neighborhood right away. Instead of heading straight to the most obvious photo spots, you begin with the area’s visual rhythm, the lane layout, and the sandstone textures.
At Stop 1, you are out learning how to photograph the district itself. Expect the guide to point you toward vantage points for major Sydney views, including Sydney Harbour Bridge and Sydney Opera House. The key value is that you are not just shown a viewpoint. You are taught how to set up for it, then adjust when the light changes as you move a few steps.
Practical tip here: landmarks in cities are often too bright compared with the darker streets around them. In manual mode coaching, you usually learn how to balance that. That can mean exposing for the landmark while keeping buildings readable, or using shutter speed choices to control how much light hits your sensor.
Then you continue to Stop 2: Sydney Photography Tours. This part of the experience is where you keep refining your technique and get additional instruction as you compare what you shot earlier. Because the tour is about learning camera control, this stop matters even if the scenery feels familiar. It gives you the chance to tighten your results with guidance rather than guessing after the fact.
You finish back at the meeting point. That makes the day simple to plan because you are not stuck figuring out transport at the end of a workshop.
What can feel challenging
If you are brand new to manual mode, you may need a few minutes to get your camera menus under control. The tour assumes you bring your own camera, and it is hard to practice when you are learning button locations on the fly. If you can, set your camera up before you arrive, so you can focus on what your guide is teaching.
Composition and exposure lessons you can use right away
The course focuses on practical skills, and you can think of it in two layers: seeing better, and exposing correctly.
For composition, the guide’s job is to help you frame subjects in a way that makes sense visually. That often means learning how to work with lines, edges, and distances. In The Rocks, you have a natural advantage. Laneways create leading lines, corners create natural framing, and textured building facades offer details for tighter shots. You are likely to take both wide and tighter images during the class, which helps you compare how composition choices change the story of a photo.
For exposure, the class teaching connects camera settings to what you see in the viewfinder. You learn how exposure decisions affect brightness and highlight detail. This is especially relevant with harbor views, where the brightness range can be tough. The guide’s advice helps you stop relying on auto exposure and start shaping the result.
For shutter speed, you learn how to control motion. That can mean freezing subtle movement in people near the streets, or deciding how to handle movement in the harbor area. Even when the motion is light, shutter speed choices influence sharpness, noise, and the look of the final image.
One of the most valuable parts of this kind of instruction is that it is not theoretical. You can try a setting, check your results, and adjust immediately. When you are standing in a real scene, the learning sticks.
A few more Sydney options worth weighing
Daytime vs nighttime class, and when to choose each
You can choose from an afternoon or nighttime class to fit your schedule. That choice changes what you will likely care about most.
In an afternoon session, you typically get easier exposure conditions. Colors and building details are clearer, and you can focus on composition and framing while light is forgiving. It can also be a calmer time to learn camera basics because you do not have to worry as much about low-light noise and very slow shutter speeds.
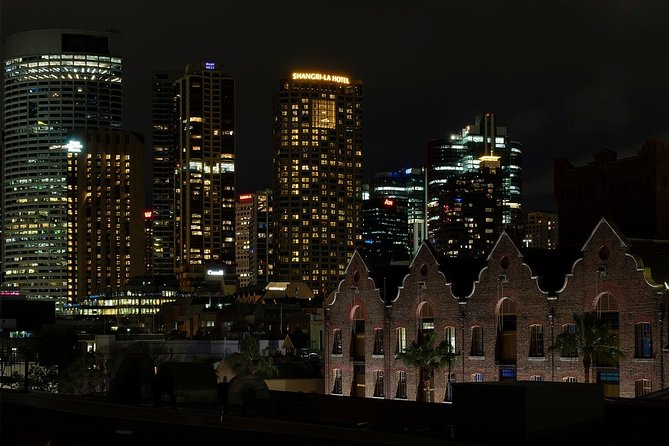
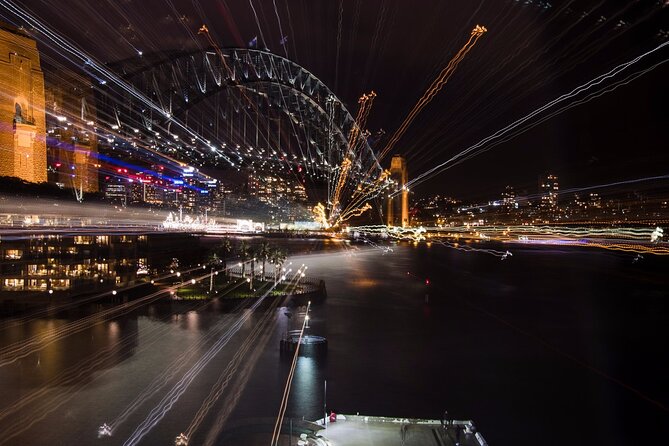
A nighttime session adds a different skill set. Your guide’s tips become more about how to manage low light using manual settings. You may spend more time testing shutter speed and ISO choices, because night scenes often demand decisions that affect both sharpness and image quality. Night also gives you a chance to capture the Bridge and Opera House with a different mood, depending on lighting conditions.
Here is my practical take on deciding: if you are still getting comfortable with manual mode, pick the afternoon first. If you already know what shutter speed and ISO do, or you want to work on nighttime control, choose the nighttime class and use it to build confidence for future evening shooting.
Either way, you get a guided workflow, and the group size stays small, so you can ask questions and refine your approach on the spot.
What you should bring, and how to prep your camera
You need to bring your own camera. That is a big deal, because the instruction is meant to connect directly to your gear, not someone else’s. If you have a phone camera only, this may not fit what the course is designed for, since the guidance is centered on using your camera in manual mode.
If you can, do a quick prep check before you go:
- Make sure your camera is charged, with enough storage space.
- Know how to change key settings like shutter speed and ISO.
- Bring your lens or lenses that you actually plan to use for the day.
- Have any basic manual controls unlocked if your camera requires it.
Weather matters. The experience requires good weather, and if it gets canceled due to poor weather, you are offered a different date or a full refund. That matters because a rainy day can limit where you can safely stand and how clearly you can frame the harbor views.
Also note the course does not include food or drinks. If you are going out for a 2.5 hour shoot session, consider grabbing water before you start, especially in warmer months.
Price and value for a 2.5-hour manual photography workshop
The price is €154 for about 2 hours 30 minutes. On paper, that may sound like a lot for a short session. In practice, you are paying for three things: a pro tutor, a structured lesson in manual mode, and location-based practice with guidance.
First, the guide is not just there for company. The teaching targets specific camera skills like composition, exposure, and shutter speed, which are hard to learn from a book when you are also trying to get the shot you want.
Second, you get course notes. That is not a throwaway handout. It gives you a way to review settings and remember what you were told, instead of relying on memory after the walk.
Third, the group size max of 10 changes the economics. If this were a larger group, you might get less individual help. A capped group makes it easier for your guide to notice what settings you are using and help you adjust quickly.
Is it cheaper than figuring it out yourself? Yes, usually. But it is often far more cost-effective than booking a private tutor, especially in a compact area like The Rocks where you can practice immediately at landmark vantage points.
If you like hands-on learning and you want images that look more intentional, the price starts to feel fair fast.
Logistics that matter on the ground
The meeting point is Kendall Lane, Kendall Ln, The Rocks NSW 2000, Australia. The tour ends back at the same meeting point, so you can plan your next stop without extra transport puzzles.
There is no hotel pickup and drop-off included, so you will be walking in or using nearby public transport. The location is near public transportation, which helps if your day already has other Sydney sights.
The tour uses a mobile ticket. That is usually straightforward, but make sure you can access it on your phone.
On participation, most people can take part, and service animals are allowed.
Timing is also worth noting. Because it lasts about 2 hours 30 minutes, you should treat it as a focused block. If you schedule too many other stops before or after, you will feel rushed instead of learning.
Who this course suits best
This is a smart fit if:
- you want to learn manual mode without getting overwhelmed
- you want guidance that improves your photos in a real place, not just theory
- you like getting multiple tries and adjusting on the spot
- you want landmark shots plus street-level texture
It may be less ideal if:
- you only want a casual walk with no interest in camera settings
- you refuse to bring and use your own camera
- your schedule cannot handle a class that depends on good weather
Should you book this Sydney Photography course?
I think it is a strong booking if you want practical instruction in a high-value setting. The Rocks is packed with photo angles, and the class helps you control your camera instead of hoping auto mode nails it. Alfonso Calero Photography brings a friendly, approachable teaching style and gets you to experiment with your creativity, not just follow directions.
Book it if you are ready to work a little. You will learn more when you can actively try settings and compare results. If you want a hands-on step-by-step approach to exposure, shutter speed, and composition, this is the kind of short course that can change how you shoot for the rest of your trip.
Skip it if you are looking for a pure sightseeing tour with no camera focus, because the point here is the workshop.
FAQ
What is the duration of the Sydney Photography Course in The Rocks?
It runs for about 2 hours 30 minutes.
Where does the tour start and end?
It starts at Kendall Lane, The Rocks NSW 2000, and it ends back at the same meeting point.
How much does the tour cost?
The listed price is €154.
Do I need to bring a camera?
Yes. You need to bring your own camera.
What will I learn during the course?
You get customized lessons on using your camera in manual mode, along with tips on composition, exposure, shutter speed, and related photography techniques.
Is there a small-group limit?
Yes. The maximum group size is 10 travelers.
Can I choose an afternoon or nighttime class?
Yes. You can choose between an afternoon class or a nighttime class.
What is included in the price?
Included are the photography tutor or guide and course notes.
Are food and drinks included?
No. Food and drinks are not included.
What is the weather and cancellation approach?
The experience requires good weather. If it is canceled due to poor weather, you will be offered a different date or a full refund. You can cancel for a full refund up to 24 hours in advance of the experience’s start time.
Latest Sydney additions
- Sydney: Surry Hills Private Food Tour with +8 Local Tastings
★ 5.0 · 1 review - Sydney: Hunter Valley Wine Tour – Choc, Dumplings & Oysters
★ 5.0 · 1 review - Private Transfer FROM Sydney Downtown to Sydney Airport 1-2 pax
★ 5.0 · 1 review - Sydney Harbour Melbourne Cup Cruise
★ 5.0 · 1 review - Sydney: Brewery, Winery, and Distillery Tasting Tour
★ 5.0 · 1 review - Sydney: Watsons Bay Walking Tour
★ 5.0 · 1 review - Sydney: City Hike with Opera Bar Lunch
★ 5.0 · 1 review - Overnight Harbour Cruise Experience
★ 4.0 · 1 review
Sydney Photo Shoots, compared.
Private photo tour at Sydney’s most iconic locations
Read our review →
Private Sydney Harbour Sunset Photo Tour & Cruise
Read our review →
Private Pro Photography- Sydney -price per group of 4
Read our review →
Sydney Photography Masterclass – Private Photography Lesson
Read our review →
More of this kind of Sydney day