
Reviewed · SYDNEY ART CLASSES
Sydney Photography Masterclass – Private Photography Lesson
Sydney at night is a camera test. This private 3 hour masterclass turns the lights and water into real lessons, not vague tips, with a professional photographer guide and hands-on shooting. I love the tight focus on aperture, ISO, and shutter speed, plus the way you learn framing by deciding what to include and what to cut. One thing to consider: you need to bring your camera (or rent a tripod) to get the full value.
You and your small group stay flexible, too. The session is private for up to four people total, so you can aim your practice where your interests actually are, whether that means Opera House shots or backstreet details around The Rocks.
In This Review
- Key points you will feel right away
- Price and what you get from it
- The private structure: small group, big attention
- Your camera skills plan: exposure triangle to real decisions
- Night photography in Sydney: what makes it tricky and how you handle it
- Stop 1 and 2: Milsons Point and McMahons Point (starting with vantage and framing)
- What to practice here
- A possible drawback
- Stop 3: Luna Park (fun shapes, bright edges, and keeping highlights under control)
- What makes this stop valuable
- Stop 4 and 5: Sydney Harbour Bridge and Hickson Road Reserve (learning “right place, right time”)
- Practical things to try
- Stop 6: Sydney Opera House (getting your Opera House image to actually look like your idea)
- Stop 7 and the harbour move: Cahill Expressway and the trip toward Circular Quay
- Stop 8: Mrs Macquarie’s Chair (a classic viewpoint, used for smart practice)
- Stop 9: The Rocks (backstreets after dark for details and story)
- Why this part helps your future photos
- Stop 10: Circular Quay (wrapping the night with a high-impact finish)
- How the photo review should help you (so you leave with progress)
- What’s included, what’s not, and how to show up prepared
- Getting around: why “near public transportation” matters on a night tour
- Who this is best for
- A balanced reality check: what could feel limiting
- Should you book this Sydney photography masterclass?
- FAQ
- How long is the Sydney Photography Masterclass?
- Is this a private tour?
- What is the group size?
- What is included in the price?
- Do I need to bring my own camera?
- Is a tripod provided?
- Where do I meet, and where does the tour end?
Key points you will feel right away
- Private, up to four people total, so you get time and attention
- Exposure triangle lessons tied to real examples, not just theory
- Night photography coaching, including settings that help with tricky light
- Location scouting practice, focusing on standing in the right place at the right time
- Hands-on reviewing of your photos, so you know what to fix next
Price and what you get from it
At $186.48 per person for about three hours, this is not a budget activity. But you are paying for two useful things that tours often skip: personal feedback and real location practice. You also get tuition and a photo review, so your learning does not vanish the second you walk away.
The math gets better if you are going with another photographer, because the group stays small (up to four). If you are a solo traveler, you still get private instruction, just without the extra people to share the cost.
The private structure: small group, big attention
This is always private. That matters because night photography is messy. There are too many variables: moving light, long exposures, people in the frame, and settings that change depending on what you point at.
With a small group, your photographer guide can slow down when you need it and move faster if you already understand manual mode. One past instructor named Glenn has been praised for adjusting the session to different skill levels at once, which is exactly what you want in a “masterclass” style format.
More brushes and easels around Sydney:
- Mosaic Art Classes Sydney: Turkish Lamp Workshop★ 5.0 · 391 reviews
- Paint and Sip Classes Sydney: Ceramic Plates & Bowls★ 5.0 · 126 reviews
- Paint and Sip Classes Sydney: Acrylic Art, Canvas & Wine★ 5.0 · 53 reviews
Your camera skills plan: exposure triangle to real decisions
The session is built around camera fundamentals that actually show up in Sydney at night. You go through:
- Aperture
- ISO
- Shutter speed
- Framing and composition choices
- How to adjust when light is changing
- Where to stand for the shot you want
I like that this is not just “here is a setting, trust me.” The goal is to help you understand the tradeoffs so you can decide for yourself later. For example, in low light, faster shutter speed can freeze motion but may force higher ISO or wider aperture. You learn to think in choices, not presets.
And since you also get a photo review during the tour, you can connect the “why” with what your camera actually produced.
Night photography in Sydney: what makes it tricky and how you handle it
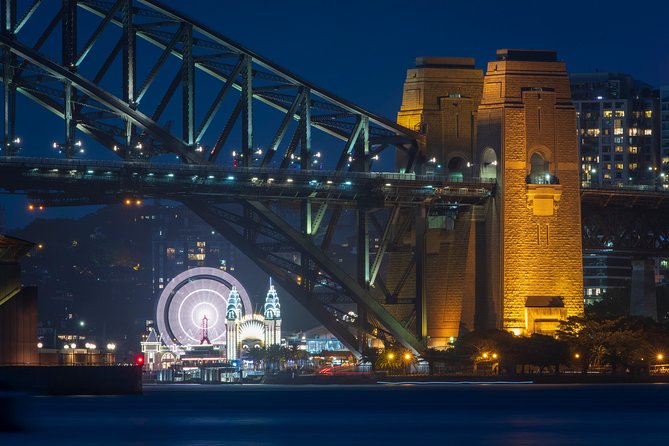
Sydney is a great classroom because the city offers strong subjects and different kinds of light. You will shoot scenes that include bright signage, dark water, and illuminated landmarks, all in the same evening.
Night photography challenges you with:
- Contrast (bright highlights near dark areas)
- Motion (water movement, passing boats, or crowds)
- Focus (low light can make your autofocus struggle)
- Framing (tripods help, but you still need the right viewpoint)
Your guide focuses on what settings and locations work best, then helps you refine your approach. A key point is timing: you are not only learning settings, you are learning when to press the shutter so the result matches your vision.
Stop 1 and 2: Milsons Point and McMahons Point (starting with vantage and framing)
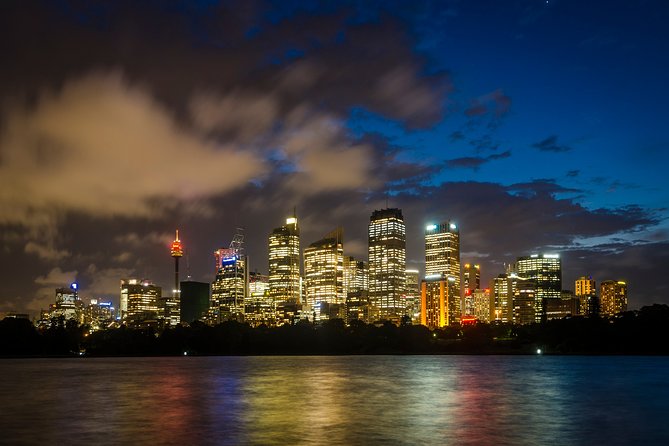
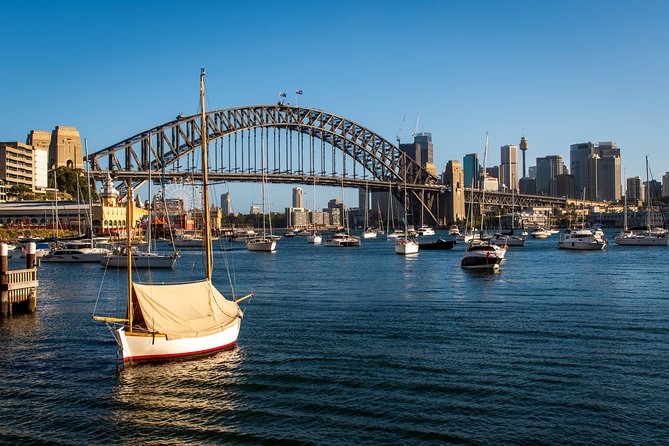
You begin at 41 Broughton St, Kirribilli, which is a good way to start because it sets you up for harbour views right away. From Milsons Point and over to McMahons Point, you are working with classic “stand and aim” compositions: bridge lines, waterfront depth, and city lights that give your camera something interesting to balance.
This is where you learn the first practical habit: frame before you adjust settings. If the composition is off, correct exposure will not save it.
Other shoots with the harbour behind you:
What to practice here
- Lock in a simple composition (bridge or skyline as the anchor)
- Watch how changing aperture or shutter speed changes brightness and motion
- Take a few quick test shots so you do not guess later at darker locations
A possible drawback
If you are still getting comfortable with basic camera controls, the first part can feel fast. That is why the small-group pace is useful. Tell your guide where you are stuck early, so you get the steps you need before you move on.
Stop 3: Luna Park (fun shapes, bright edges, and keeping highlights under control)
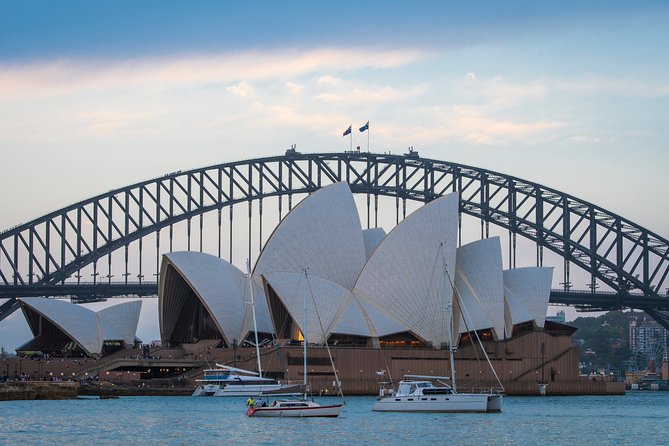
Luna Park is a great learning stop because it gives you bold shapes and bright light sources right next to darker background areas. That is exactly the kind of contrast that can blow out highlights if you are not watching your exposure choices.
What makes this stop valuable
- You practice photographing illuminated details, not just big landmarks
- You learn how to include graphic elements without letting them overpower the rest of your frame
- You practice composition rules by deciding what not to include
If you like to shoot city textures, this part is especially satisfying.
Stop 4 and 5: Sydney Harbour Bridge and Hickson Road Reserve (learning “right place, right time”)
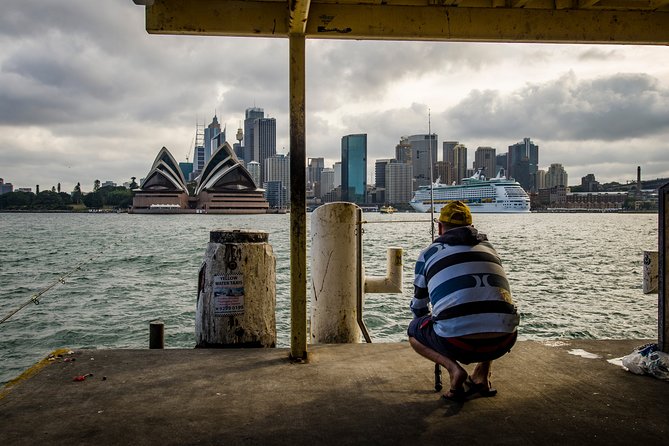
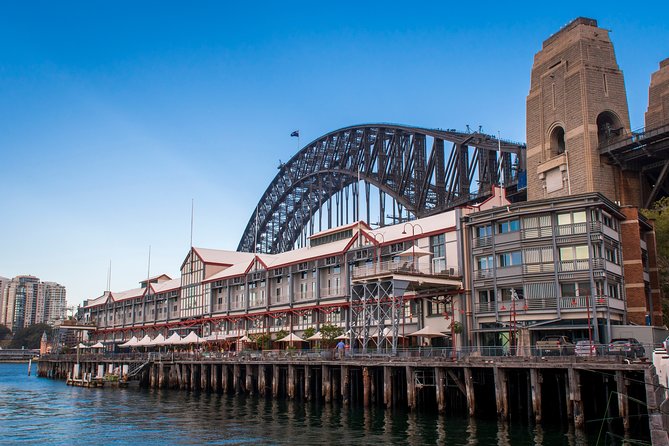
The Harbour Bridge is one of those subjects where tiny changes in where you stand can make a huge difference. This is why the session emphasizes being in the right place at the right time. You are learning to control viewpoint, not only camera settings.
Hickson Road Reserve helps you move from iconic views to a more grounded perspective. You can work on leading lines, spacing, and how to balance the bridge with the surrounding glow.
Practical things to try
- Take one wider shot to establish context
- Then take a tighter shot where the bridge dominates
- Try different shutter speeds to see what happens to light streaks and water texture
Stop 6: Sydney Opera House (getting your Opera House image to actually look like your idea)
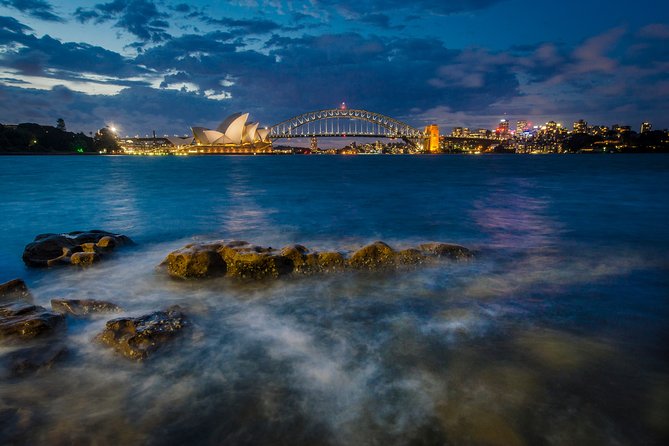
The Opera House is bright, iconic, and full of geometric light patterns. The trick is not only exposing correctly, but composing so the building looks intentional rather than like a glowing blob.
In a masterclass format, you should feel guided through two steps:
1) Compose first
2) Then adjust exposure and focus choices for the look you want
If you are aiming for crisp architectural lines, you will want to be mindful of shutter speed and stability. If you want a moodier harbour look, you may trade sharpness for a smoother feel.
Stop 7 and the harbour move: Cahill Expressway and the trip toward Circular Quay
You continue the evening around Cahill Expressway, then move toward Circular Quay. This part of the route keeps your camera pointed at different layers of Sydney at night, which is useful because it stops you from repeating the same framing mistake.
The overview also suggests a ferry ride toward Circular Quay. Even if you are not photographing the ferry itself, it changes your angles and timing, which often leads to better bridge and Opera House sightlines.
Stop 8: Mrs Macquarie’s Chair (a classic viewpoint, used for smart practice)
Mrs Macquarie’s Chair is known for views, but in a photography lesson it becomes something more specific: a structured place to practice.
This is where you can focus on:
- Horizon balance
- How much foreground to include
- Keeping your subject from getting overwhelmed by bright nearby lights
I like that your guide does not treat this stop as a photo stop, then move on. You should get coaching that connects your settings to the composition you chose.
Stop 9: The Rocks (backstreets after dark for details and story)
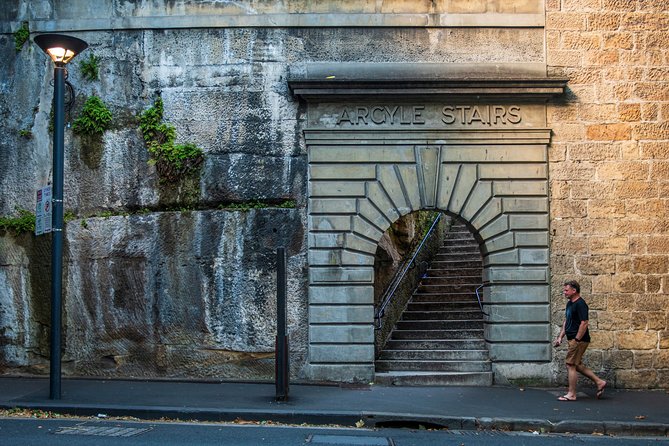
The Rocks is where the lesson widens beyond landmarks. Instead of only shooting famous structures, you can focus on smaller scenes and textures in the streets.
This is a good moment to practice your “what to include, what not to include” skill. In tight streets, it is easy to stuff too much into your frame. You learn to choose one focal point and let the rest support it.
Why this part helps your future photos
Your biggest take away should be the ability to decide what makes the frame interesting. That skill works in any city, not just Sydney.
Stop 10: Circular Quay (wrapping the night with a high-impact finish)
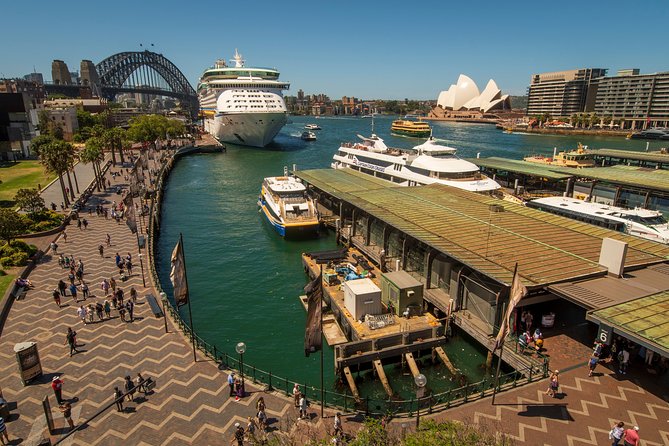
Circular Quay is your closing scene, with strong light sources and lots of activity around the harbour. It is an excellent location for the final round of practice because you can apply everything you learned over the previous stops.
This is also where the photo review becomes especially useful. You have multiple shots from different settings and angles, so your guide can point out patterns:
- what improved across the night
- what still needs adjustment
- which composition choices worked best
How the photo review should help you (so you leave with progress)
A lot of photo tours stop at “take pictures.” This one includes photography tuition and review, which is where you really gain skill.
A good review does three things:
- It ties your results to the camera decisions you made (aperture, ISO, shutter speed)
- It points out composition fixes you can repeat
- It gives you a next step, not just feedback
I would treat the review like a cheat sheet for your next shoot. If you can explain why one photo works better than another, you are learning the real method.
What’s included, what’s not, and how to show up prepared
Included:
- Professional photographer guide
- Local guide
- Photography tuition and review
Not included:
- Camera
- Tripod (but tripod rental is available)
If you want the lesson to feel smooth, bring:
- Your camera and charger
- A spare memory card
- Any lenses you plan to use for night work
- If you have one, a way to stabilize your shot (even if you are not renting a tripod)
Tripods matter in night photography, but you can still learn without one. The key is that you need stability and you need to understand shutter speed choices.
Getting around: why “near public transportation” matters on a night tour
Night photo routes move at a pace that depends on where you stop and how quickly you want to set up. Being near public transport helps because you are not locked into the tour vehicle timing, and you are in a part of Sydney that is easy to reach.
You also start at 41 Broughton St, Kirribilli, and the activity ends back at the meeting point. That keeps the plan simple after you wrap up your last shots.
Who this is best for
This works well if:
- You want hands-on instruction, not just a sight-seeing walk
- You are learning manual mode or trying to understand the exposure triangle
- You care about composition as much as technical settings
- You want night photography coaching tied to real Sydney locations
It is also a smart pick if you are somewhere in the middle. If you already know the basics, you can use the lesson to refine tradeoffs and learn where to stand for stronger results.
A balanced reality check: what could feel limiting
The tour is about three hours. That is enough time to make progress, but not enough to master every aspect of night photography in every situation. You will still have homework after, like practicing exposure choices back in your hotel room or testing settings at home during evening light.
Also, if you arrive with no camera familiarity, you might spend more time on controls than on creative choices. The small group helps, but you will still move through the core fundamentals.
Should you book this Sydney photography masterclass?
Book it if you want a focused night lesson that helps you make better decisions with your camera, not just better luck with your photos. The price feels fair for the combination of private instruction, real harbour locations, and photo review.
Skip it or consider a different format if you are hoping for a casual walk where you only shoot photos and never adjust settings. This is more of a teaching session than a pure sightseeing tour.
If you want to level up quickly, learn the exposure triangle in context, and leave with a clearer idea of how to frame and expose night scenes, this is a strong bet for your Sydney evening.
FAQ
How long is the Sydney Photography Masterclass?
The experience runs for about 3 hours.
Is this a private tour?
Yes. It is private, and only your group will participate.
What is the group size?
The group is limited to up to four people total.
What is included in the price?
You get a professional photographer guide, a local guide, and photography tuition and review.
Do I need to bring my own camera?
Yes. A camera is not included.
Is a tripod provided?
A tripod is not included, but tripod rental is available.
Where do I meet, and where does the tour end?
You meet at 41 Broughton St, Kirribilli NSW 2061, and the activity ends back at the meeting point.
More Workshops in Sydney
- Bondi Beach: 2-Hour Surf Lesson Experience for Any Level
★ 4.9 · 935 reviews - Surfing Lessons on Sydney’s Bondi Beach
★ 5.0 · 267 reviews - Sydney: Maroubra Surf Lesson
★ 4.7 · 188 reviews - Resin Art Classes Sydney: Cheeseboards & Coasters
★ 5.0 · 41 reviews
Latest Sydney additions
- Sydney: Surry Hills Private Food Tour with +8 Local Tastings
★ 5.0 · 1 review - Sydney: Hunter Valley Wine Tour – Choc, Dumplings & Oysters
★ 5.0 · 1 review - Private Transfer FROM Sydney Downtown to Sydney Airport 1-2 pax
★ 5.0 · 1 review - Sydney Harbour Melbourne Cup Cruise
★ 5.0 · 1 review - Sydney: Brewery, Winery, and Distillery Tasting Tour
★ 5.0 · 1 review - Sydney: Watsons Bay Walking Tour
★ 5.0 · 1 review - Sydney: City Hike with Opera Bar Lunch
★ 5.0 · 1 review - Overnight Harbour Cruise Experience
★ 4.0 · 1 review
Sydney Art Classes, compared.
Mosaic Art Classes Sydney: Turkish Lamp Workshop
Read our review →
Paint and Sip Classes Sydney: Ceramic Plates & Bowls
Read our review →
Paint and Sip Classes Sydney: Acrylic Art, Canvas & Wine
Read our review →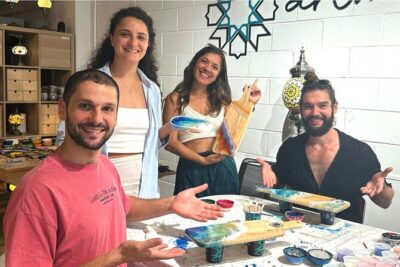
Resin Art Classes Sydney: Cheeseboards & Coasters
Read our review →
Hands-On Roti Masterclass + 5-Course Feast and Drink
Read our review →More of this kind of Sydney day